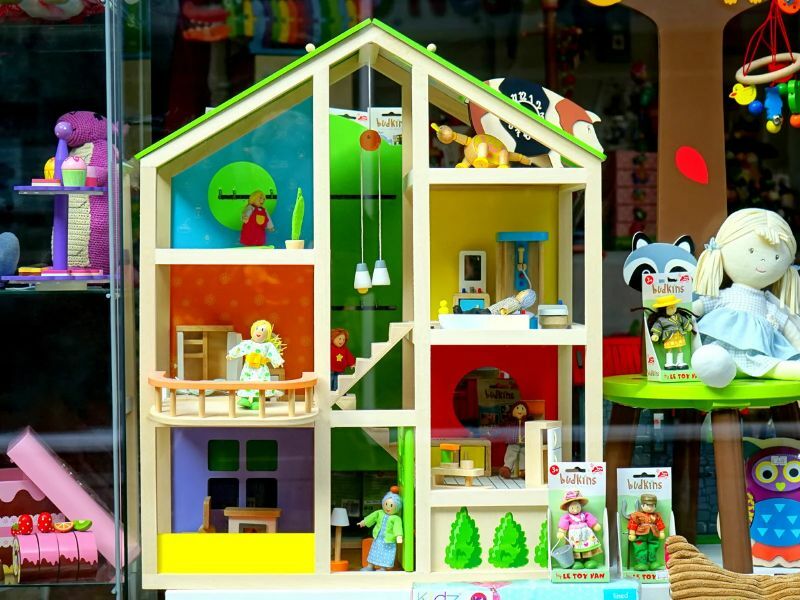
How To Repurpose A Dollhouse?
You can repurpose a dollhouse by upcycling it into something completely new and unique.
Ideas include creating a storage piece of furniture, transforming it into a planter or bookshelf, adding sensors as part of a smart home project, making it into a shadowbox art display, and much more! With imagination and creativity, you can make your old dollhouse into something genuinely beautiful!
What can you do with a dollhouse?
Other than repurposing it, you can also use a dollhouse in many different ways.
- You can play with the dolls and create stories for your kids.
- Renovate your dollhouse.
- Turn it into a miniature science lab or art studio.
- Display it as an exciting piece of décor, add furniture and decorations made out of recycled materials, or even customize it with lights and music. The possibilities are truly endless when it comes to a dollhouse!
- Use it for simple storage.
No matter how you choose to use it, a dollhouse can be a fun and creative way to add some life to your home!
How To Repurpose A Dollhouse By Renovating it.
How do you renovate a dollhouse?
If you want to renovate a dollhouse, the first step is cleaning it thoroughly. Remove any old furniture, fixtures, and décor. Once everything is out, use an all-purpose cleaner or diluted white vinegar to clean and disinfect the walls and floors of the house. Then you can begin painting, wallpapering, and adding furniture and decorations as desired.
Step 1. Remove any old furniture, fixtures, and décor.
The best way to do this is to unclamp screws and unscrew nails to take everything apart. If you’re keeping the walls or furniture, label the pieces for easy reassembly later.
We recommend using the Makeid Label Maker Machine , which is an efficient and cost-effective way to label the pieces.
Step 2. Thoroughly clean the house
Once everything is out, use an all-purpose cleaner or diluted white vinegar to clean and disinfect the walls and floors of the house. We use this brand: Better Life Natural All-Purpose Cleaner, which is Safe to use Around Kids & Pets.
Start by vacuuming up any dust, cobwebs, or dirt inside. Then use a damp rag to wipe down the walls and floors of your dollhouse.
Let everything dry before continuing with the renovation process.
Step 3. Paint the dollhouse
Begin painting the walls with a base coat. Use light colors to brighten up the interior of the room and dark colors to add a layer of warmth.
When it comes to painting a dollhouse, the best paint to use is acrylic-based. Acrylic paints are ideal for dollhouses because they are non-toxic, durable, and easy to apply. They also come in various colors and finishes making it easy to customize your dollhouse’s look. Additionally, acrylic paints won’t crack or peel over time, unlike water-based paints.
Step 4. Choose a wallpaper or wall stencil to add texture and style to the house.
Wallpapering a dollhouse is an excellent way to add color, texture, and charm to its interior. You can find a variety of specialized miniature wallpaper designs online that are specifically designed for dollhouses. Alternatively, you can also use regular-sized wallpapers or even wall stencils to give your dollhouse an extra hint of character.
Step 5. Start adding furniture and decorations as desired.
Now that your walls are painted and papered, it’s time to start adding furniture and décor! Dollhouses come with a variety of different miniature furniture pieces, but you can also find miniature furniture sets online or at craft stores. Look for pieces that fit the theme and color palette of your dollhouse.
You can also add extra touches like rugs, curtains, lamps, and other decorative accents to complete the look. With a bit of patience and creativity, you’ll have a beautifully renovated dollhouse in no time!


